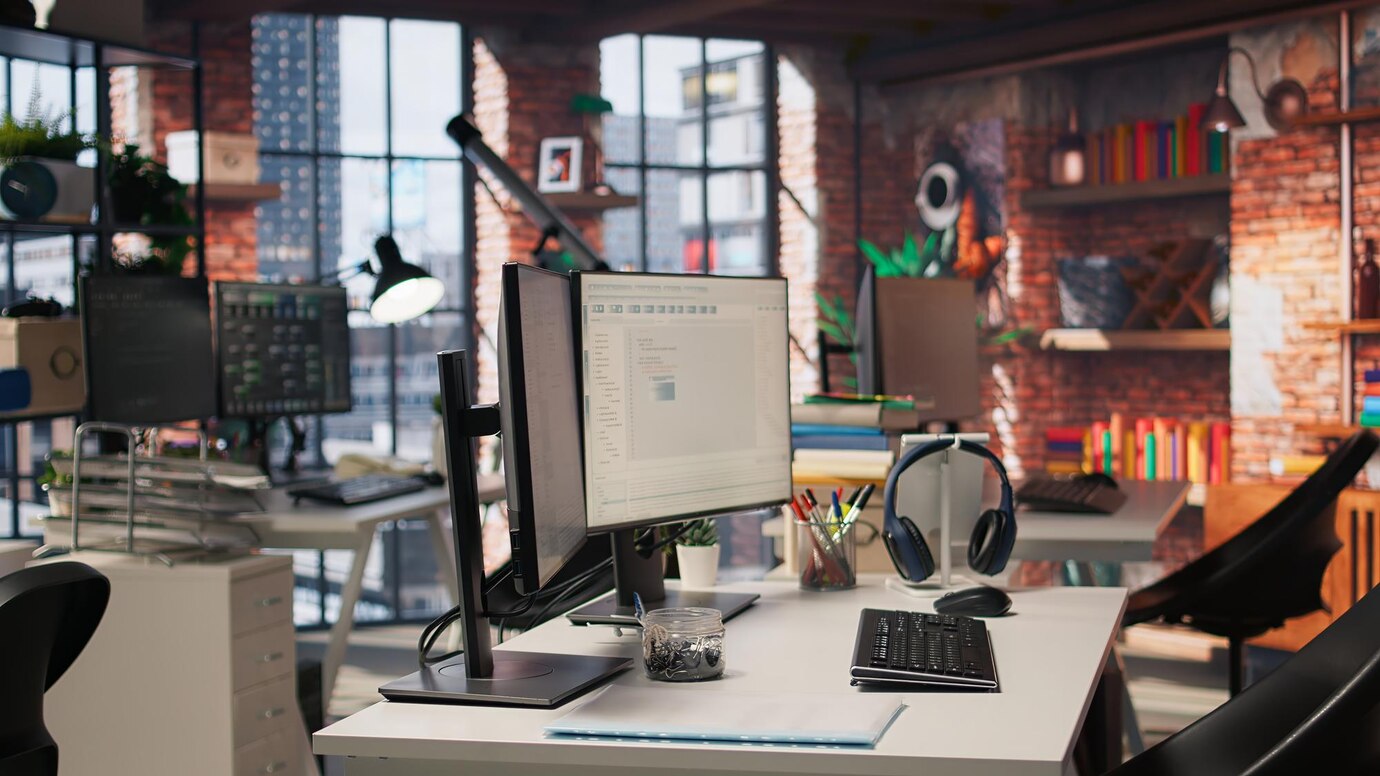
Double your screen, double your efficiency. Here’s how to build a dual-monitor workstation that actually works.
In the age of remote work, side hustles, and digital multitasking, a single screen often feels like a constraint. That’s why more people than ever are upgrading to a dual monitor setup—and discovering just how big a difference a second display can make.
But it’s not just about plugging in an extra screen. The right dual-monitor configuration can transform how you work, game, create, or browse—saving you time, reducing eye strain, and helping you stay organized.
Here’s how to create the ultimate dual monitor setup, whether you’re a work-from-home pro, content creator, or just tired of juggling tabs.
Why Go Dual? The Productivity Perks
Studies show that adding a second monitor can boost productivity by up to 42%, especially for people who regularly:
-
Work with spreadsheets or data
-
Write, code, or design
-
Edit photos or videos
-
Conduct research
-
Host virtual meetings while multitasking
You’ll spend less time switching between tabs and more time actually getting things done.
Step 1: Choose the Right Monitors
Match Your Monitors (If Possible)
Two of the same model is ideal for a seamless look, consistent resolution, and matching color profiles. But you can still mix and match if needed—just try to align size and resolution.
Size & Resolution
-
24 to 27 inches is the sweet spot for most desks.
-
Go for at least 1080p (Full HD)—though 1440p or 4K is better for creative work.
-
If you’re mixing resolutions (e.g., 1080p and 4K), your OS can scale windows to match.
Step 2: Get the Right Mount or Stand
How you position your monitors matters—a lot.
Options:
-
Side-by-side on stands – the classic setup
-
Dual arm mount – great for ergonomics and desk space
-
Vertical + horizontal – useful for coding, writing, or reading documents
-
Stacked monitors – ideal for compact workstations or video editing
Make sure your monitors are at eye level, about an arm’s length away, and the tops aligned with your line of sight.
Step 3: Choose the Right Cables and Ports
Most modern monitors connect via:
-
HDMI
-
DisplayPort
-
USB-C
-
DVI or VGA (older models)
Check your computer’s output ports, and match them accordingly. You may need adapters or a docking station for laptops.
Tip: USB-C monitors with power delivery can charge your laptop while displaying—perfect for a cleaner setup.
Step 4: Configure Your Display Settings
Once connected, fine-tune your display settings:
-
On Windows: Go to Display Settings → Rearrange displays → Set resolution, orientation, and scaling
-
On macOS: Go to System Settings → Displays → Drag monitors into position and choose primary display
Set one monitor as your main display—that’s where your taskbar/dock and most apps will launch. Use the second for reference material, communication tools, or content previews.
Step 5: Optimize for Your Workflow
Your dual setup is only as good as your habits. Try these tips:
-
Work left, reference right (or vice versa) – keep your focus on one screen, use the other for passive content
-
Keep communication tools (Slack, email, calendar) on one screen
-
Use window snapping tools like PowerToys (Windows) or Magnet (Mac) for fast layout control
-
Create virtual desktops if you still feel cluttered
Bonus: Use your second screen to keep an eye on real-time data, notes, or even a calming background video or playlist.
Upgrade Ideas for Even More Efficiency
-
Ultrawide instead of dual monitors: If you want seamless real estate without bezels
-
Vertical monitor for coding/writing
-
Monitor light bars to reduce eye strain without screen glare
-
Docking station to quickly connect a laptop with just one cable
-
Cable management trays to keep things clean
Invest in How You Work
A dual monitor setup isn’t just a flex—it’s a functional upgrade that saves time, improves posture, and makes multitasking smoother. Whether you’re deep into spreadsheets or managing your smart home while working, the right setup brings everything into focus.

